Please choose your delivery location

The selection of the country/region page can influence various factors such as price, shipping options and product availability.
Inquiry / Contact
igus® Canada

180 Bass Pro Mills Drive

Concord

Ontario L4K 0G9

+1 (800) 965-2496
+1 905 760-8688
CA(EN)
Butting Rails Together
in 5 Easy Steps
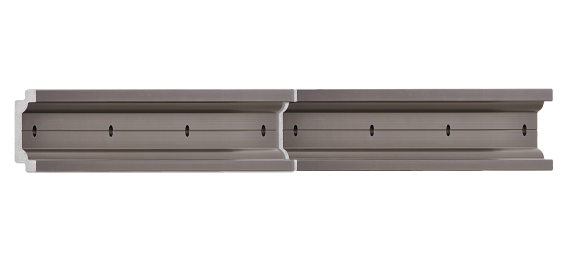
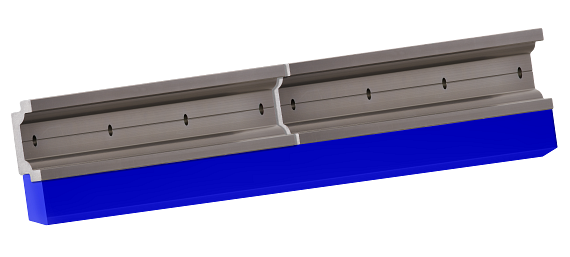
Since linear plain bearings slide on a plane and “bridge” the gap in between the two rails, they are a better choice than a rolling-element bearing, for example. At the onset, this task may seem simple – how difficult could lining up the ends of a few pieces of aluminum really be? However, it is very important that the rails are butted together correctly. Follow these five steps to make joining long lengths of rail a simple and easy task.
drylin linear rail

Step 1

Measure

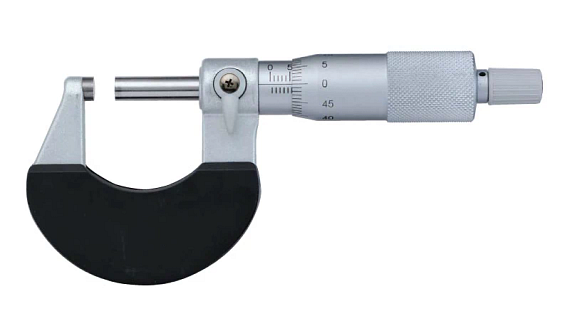
Measure the two rails you plan to join. Keep in mind, it is not recommended to butt-together rails that differ in height or width by more than 0.002 inches (0.05 millimeters). This can be challenging if you are trying to match a brand new rail with one purchased years ago because manufacturing tolerances vary from lot to lot between aluminum extrusions. In addition, there might be a variation in color. So, ideally, it is best to use rails from the same manufacturing lot, or alternatively, use precision ground aluminum or steel shafting that have much tighter machined tolerances.
Drylin® aluminum rails measuring tool

Step 2

Cut

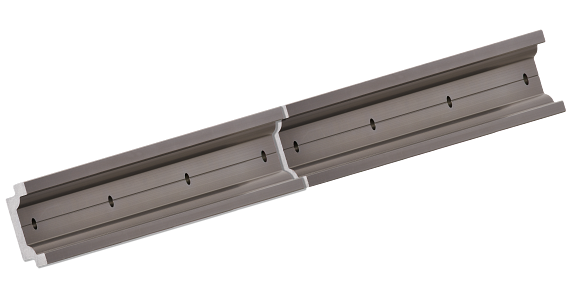
Cut the rails so that the bore spacing is symmetrical throughout the travel. For example, if the nominal distance between mounting bores is 120 millimeters (c4), then the distance from the end to the first holes on each end mating should be 60 millimeters (c5 or c6).
Drylin® aluminum rails

Step 3

File

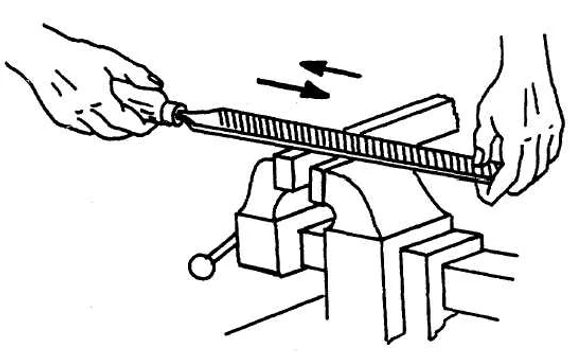
At the ends of each rail that will be joined, file a 30 - 45° x 0.5mm chamfer in all the surfaces that the bearing could contact. The filing can be done by hand. Make sure to de-burr afterwards. Please contact igus® if you would like us to quote this operation.
drylin linear rail file

Step 4

Align

Align each length of rail and fix loosely with screws.
DryLin® aluminum rails screw together

Step 5

Clamp and check

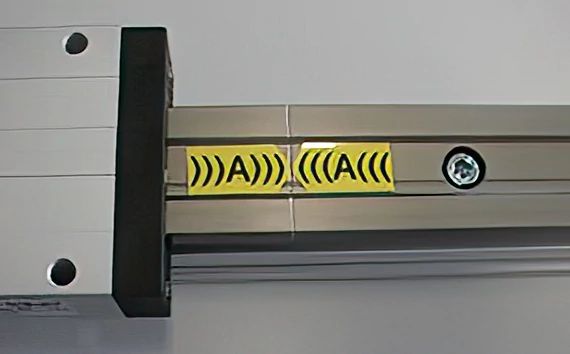
Before permanently fixing the rail assembly, align the rails with the help of clamps at the seam line and butt up against a straight-edge, if possible. Fix the screws and check the butt-joint to ensure the carriage(s) run smoothly over each joint. If the carriage does not run smoothly, you will need to realign the rails.
drylin linear rail

Contact a linear bearings & slides expert

Whether you're interested in turnkey, fully assembled solutions or looking to build your own customizable project, learn more about how igus® can assist you with a solution based on your specific application and requirements.  Contact us via the form below or call us at (800) 965-2496 to discuss your project today!
Contact an Expert


The terms "igus", "Apiro", "chainflex", "CFRIP", "conprotect", "CTD", "drylin", "dry-tech", "dryspin", "easy chain", "e-chain", "e-chain systems", "e-ketten", "e-kettensysteme", "e-skin", "e-spool", "flizz", "ibow", "igear", "iglidur", "igubal", "kineKIT", "manus", "motion plastics", "pikchain", "plastics for longer life", "readychain", "readycable", "ReBeL", "speedigus", "triflex", "robolink", "xirodur", and "xiros" are legally protected trademarks of the igus® GmbH/ Cologne in the Federal Republic of Germany and where applicable in some foreign countries.

igus® GmbH points out that it does not sell any products of the companies Allen Bradley, B&R, Baumüller, Beckhoff, Lahr, Control Techniques, Danaher Motion, ELAU, FAGOR, FANUC, Festo, Heidenhain, Jetter, Lenze, LinMot, LTi DRiVES, Mitsibushi, NUM,Parker, Bosch Rexroth, SEW, Siemens, Stöber and all other drive manufacturers mention in this website. The products offered by igus® are those of igus® GmbH